Python interface for raw FITS files
RawFile python object can read raw MUSE CCD image, with
24 extensions. RawFile consists of a simple dictionary (extname, Channel).
A few functions can be performed on the Channel object: recontruct trimmed
image of a channel, compute the bias level of channels, mask overscanned pixels…
Preliminary imports:
In [1]: from mpdaf.drs import RawFile

In [2]: import matplotlib.cm as cm
RawFile Creation and display a channel image
A RawFile object is created from a raw MUSE CCD image
In [3]: raw = RawFile('MUSE_IQE_MASK158_0001.fits')

In [4]: raw.info()
MUSE_IQE_MASK158_0001.fits
Nb extensions:  24 (loaded:24 ['CHAN19', 'CHAN18', 'CHAN15', 'CHAN14', 'CHAN17', 'CHAN16', 'CHAN11', 'CHAN10', 'CHAN13', 'CHAN12', 'CHAN06', 'CHAN02', 'CHAN21', 'CHAN04', 'CHAN23', 'CHAN08', 'CHAN09', 'CHAN20', 'CHAN07', 'CHAN22', 'CHAN05', 'CHAN24', 'CHAN03', 'CHAN01'])
format: (4224,4240)
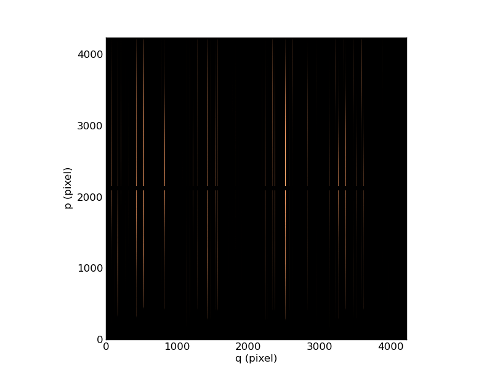
Let’s extract the channel 12 (using get_channel or __getitem__), create the corresponding Image with get_image rand display it:
In [5]: chan = raw.get_channel('CHAN12')

# chan = raw[12] is equivalent
In [6]: ima = chan.get_image()

In [7]: ima.plot(cmap=cm.copper)
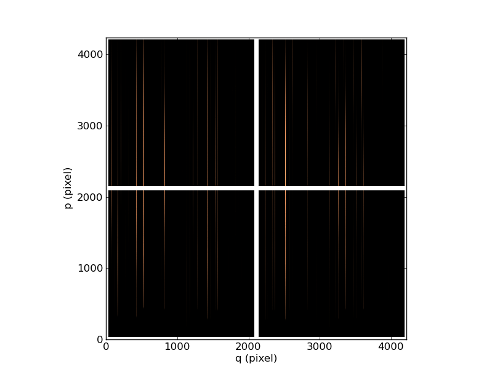
Masking overscanned pixels (get_image_mask_overscan):
In [8]: ima = chan.get_image_mask_overscan()

In [9]: ima.plot(cmap=cm.copper)
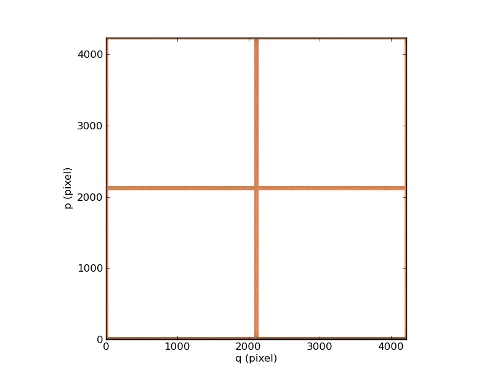
Or displaying only overscan area (get_image_just_overscan):
In [10]: ima = chan.get_image_just_overscan()

In [11]: ima.plot(cmap=cm.copper)
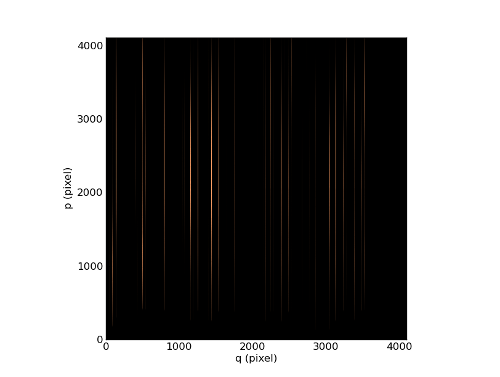
get_trimmed_image method returns an Image object without over scanned pixels. If bias option is used, median value of the overscanned pixels is subtracted on each detector:
In [12]: ima = chan.get_trimmed_image(bias=True)

In [13]: ima.plot(cmap=cm.copper)
White image fast reconstruction
Let’s compute the reconstructed white light image using reconstruct_white_image and display it:
In [14]: ima = raw.reconstruct_white_image()

In [15]: ima.info()

In [16]: ima.plot(cmap=cm.copper)
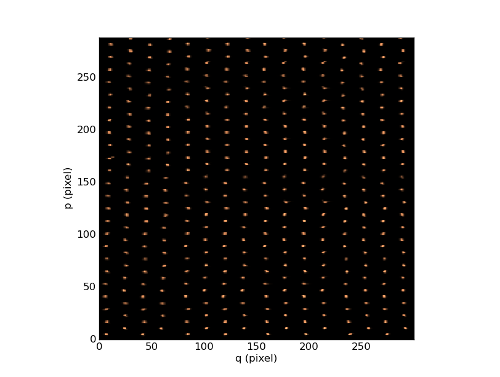
The fast reconstruction used a mask file produced by the drs. By default, the mask constructed during the PAE global test is used.
plot_white_image method reconstructs the white image and plots it.
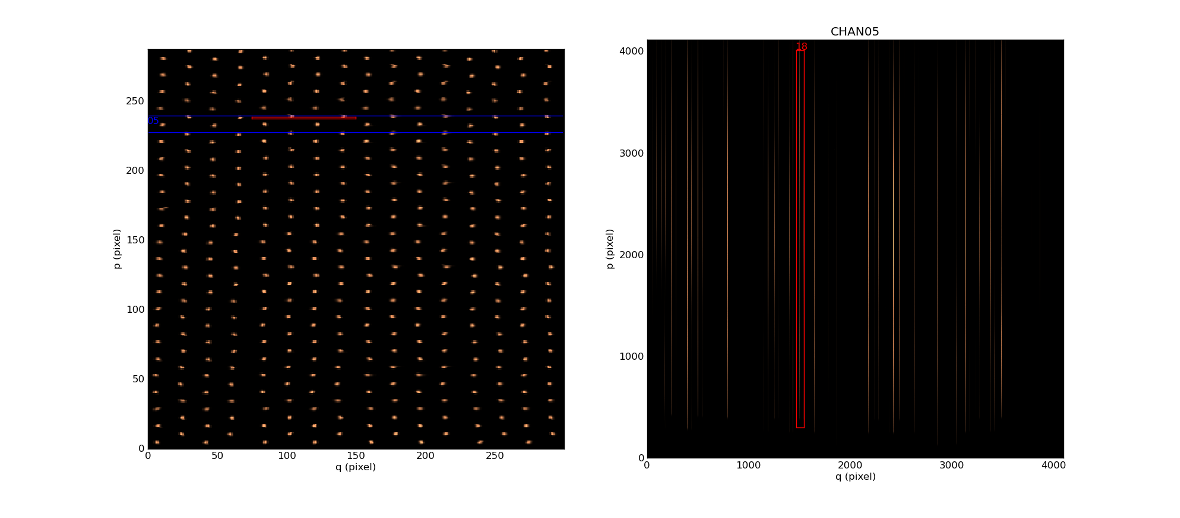
It plots also a channel image and provides mouse interaction between the 2 parts in order for the user to be able to click somewhere on one display and exhibit the corresponding data in the other display:
In [17]: raw.plot_white_image()
To select on other channel/slice, click on the images with the right mouse button.
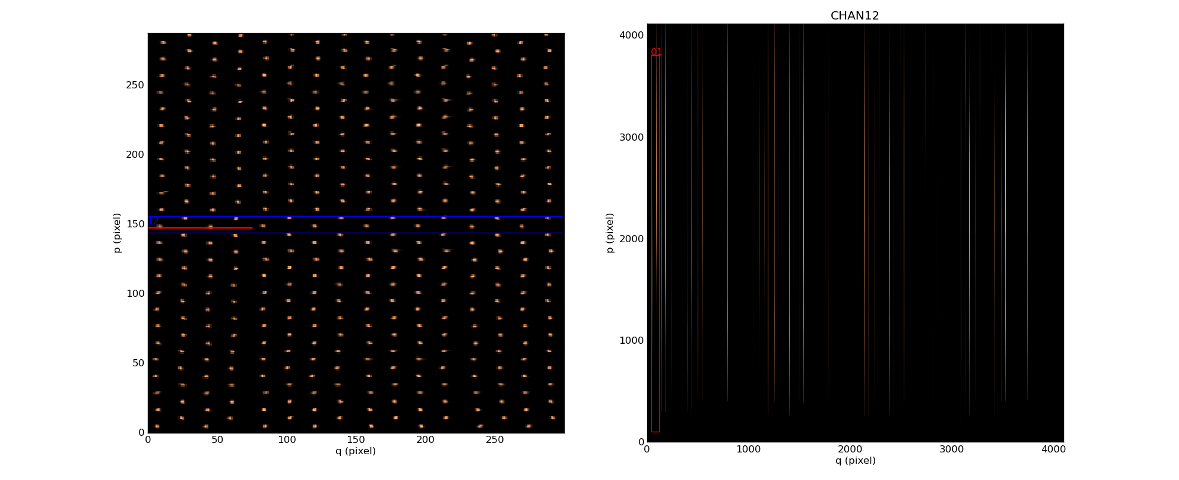
The selected slice, which corresponds to a single row of pixels on the reconstructed image, is surrounded by a red colored line on the two displays. Select a slice by clicking with the right mouse button on the right display (channel image), automatically update the slice display on the white image. As a reverse process, selecting one of the 48 slices on the white image updates the position of the slice on the CCD image.
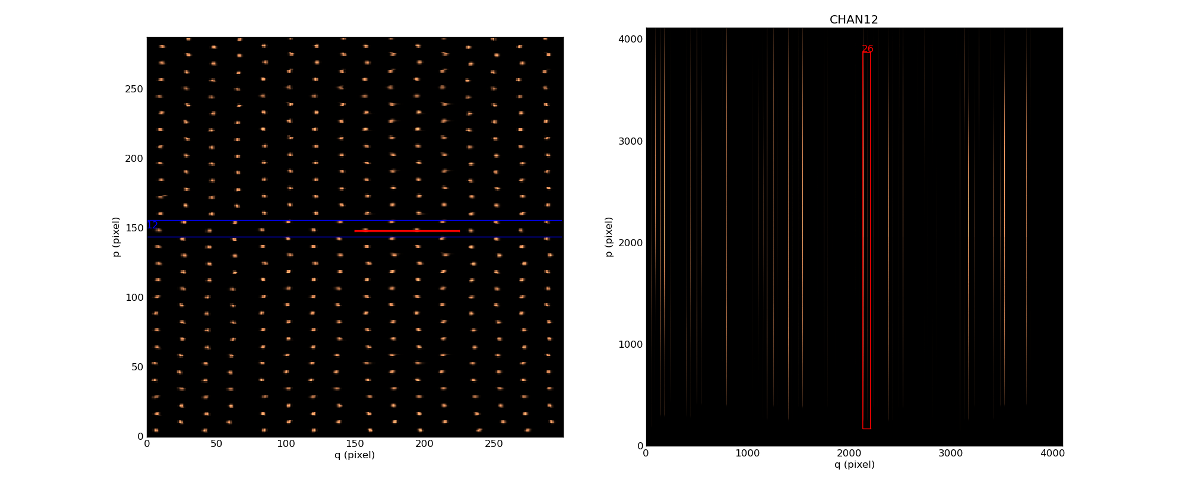
Select a channel by clicking with the right mouse button on the left display (Reconstructed Image), automatically update the display in the raw exposure image and surround the selected channel by a blue colored line.
